Branding Settings
Esta página aún no se encuentra traducida al español.
Overview
You can customize certain aspects of Cotalker's UI to your organization's needs by updating the companies endpoint. Specifically, you can override the default CSS settings, allowing you to modify the platform's colors and buttons. You can also change UI text, login screen images, and the company icon. Furthermore, your company's Microsoft or Google accounts can be set as authentication methods for sign-in.
Cotalker continuously makes updates to the app platform and cannot guarantee that CSS class selectors, text identifier keys, images, and other modifiable elements will not change. It is each company's responsibility to maintain and update their branding settings.
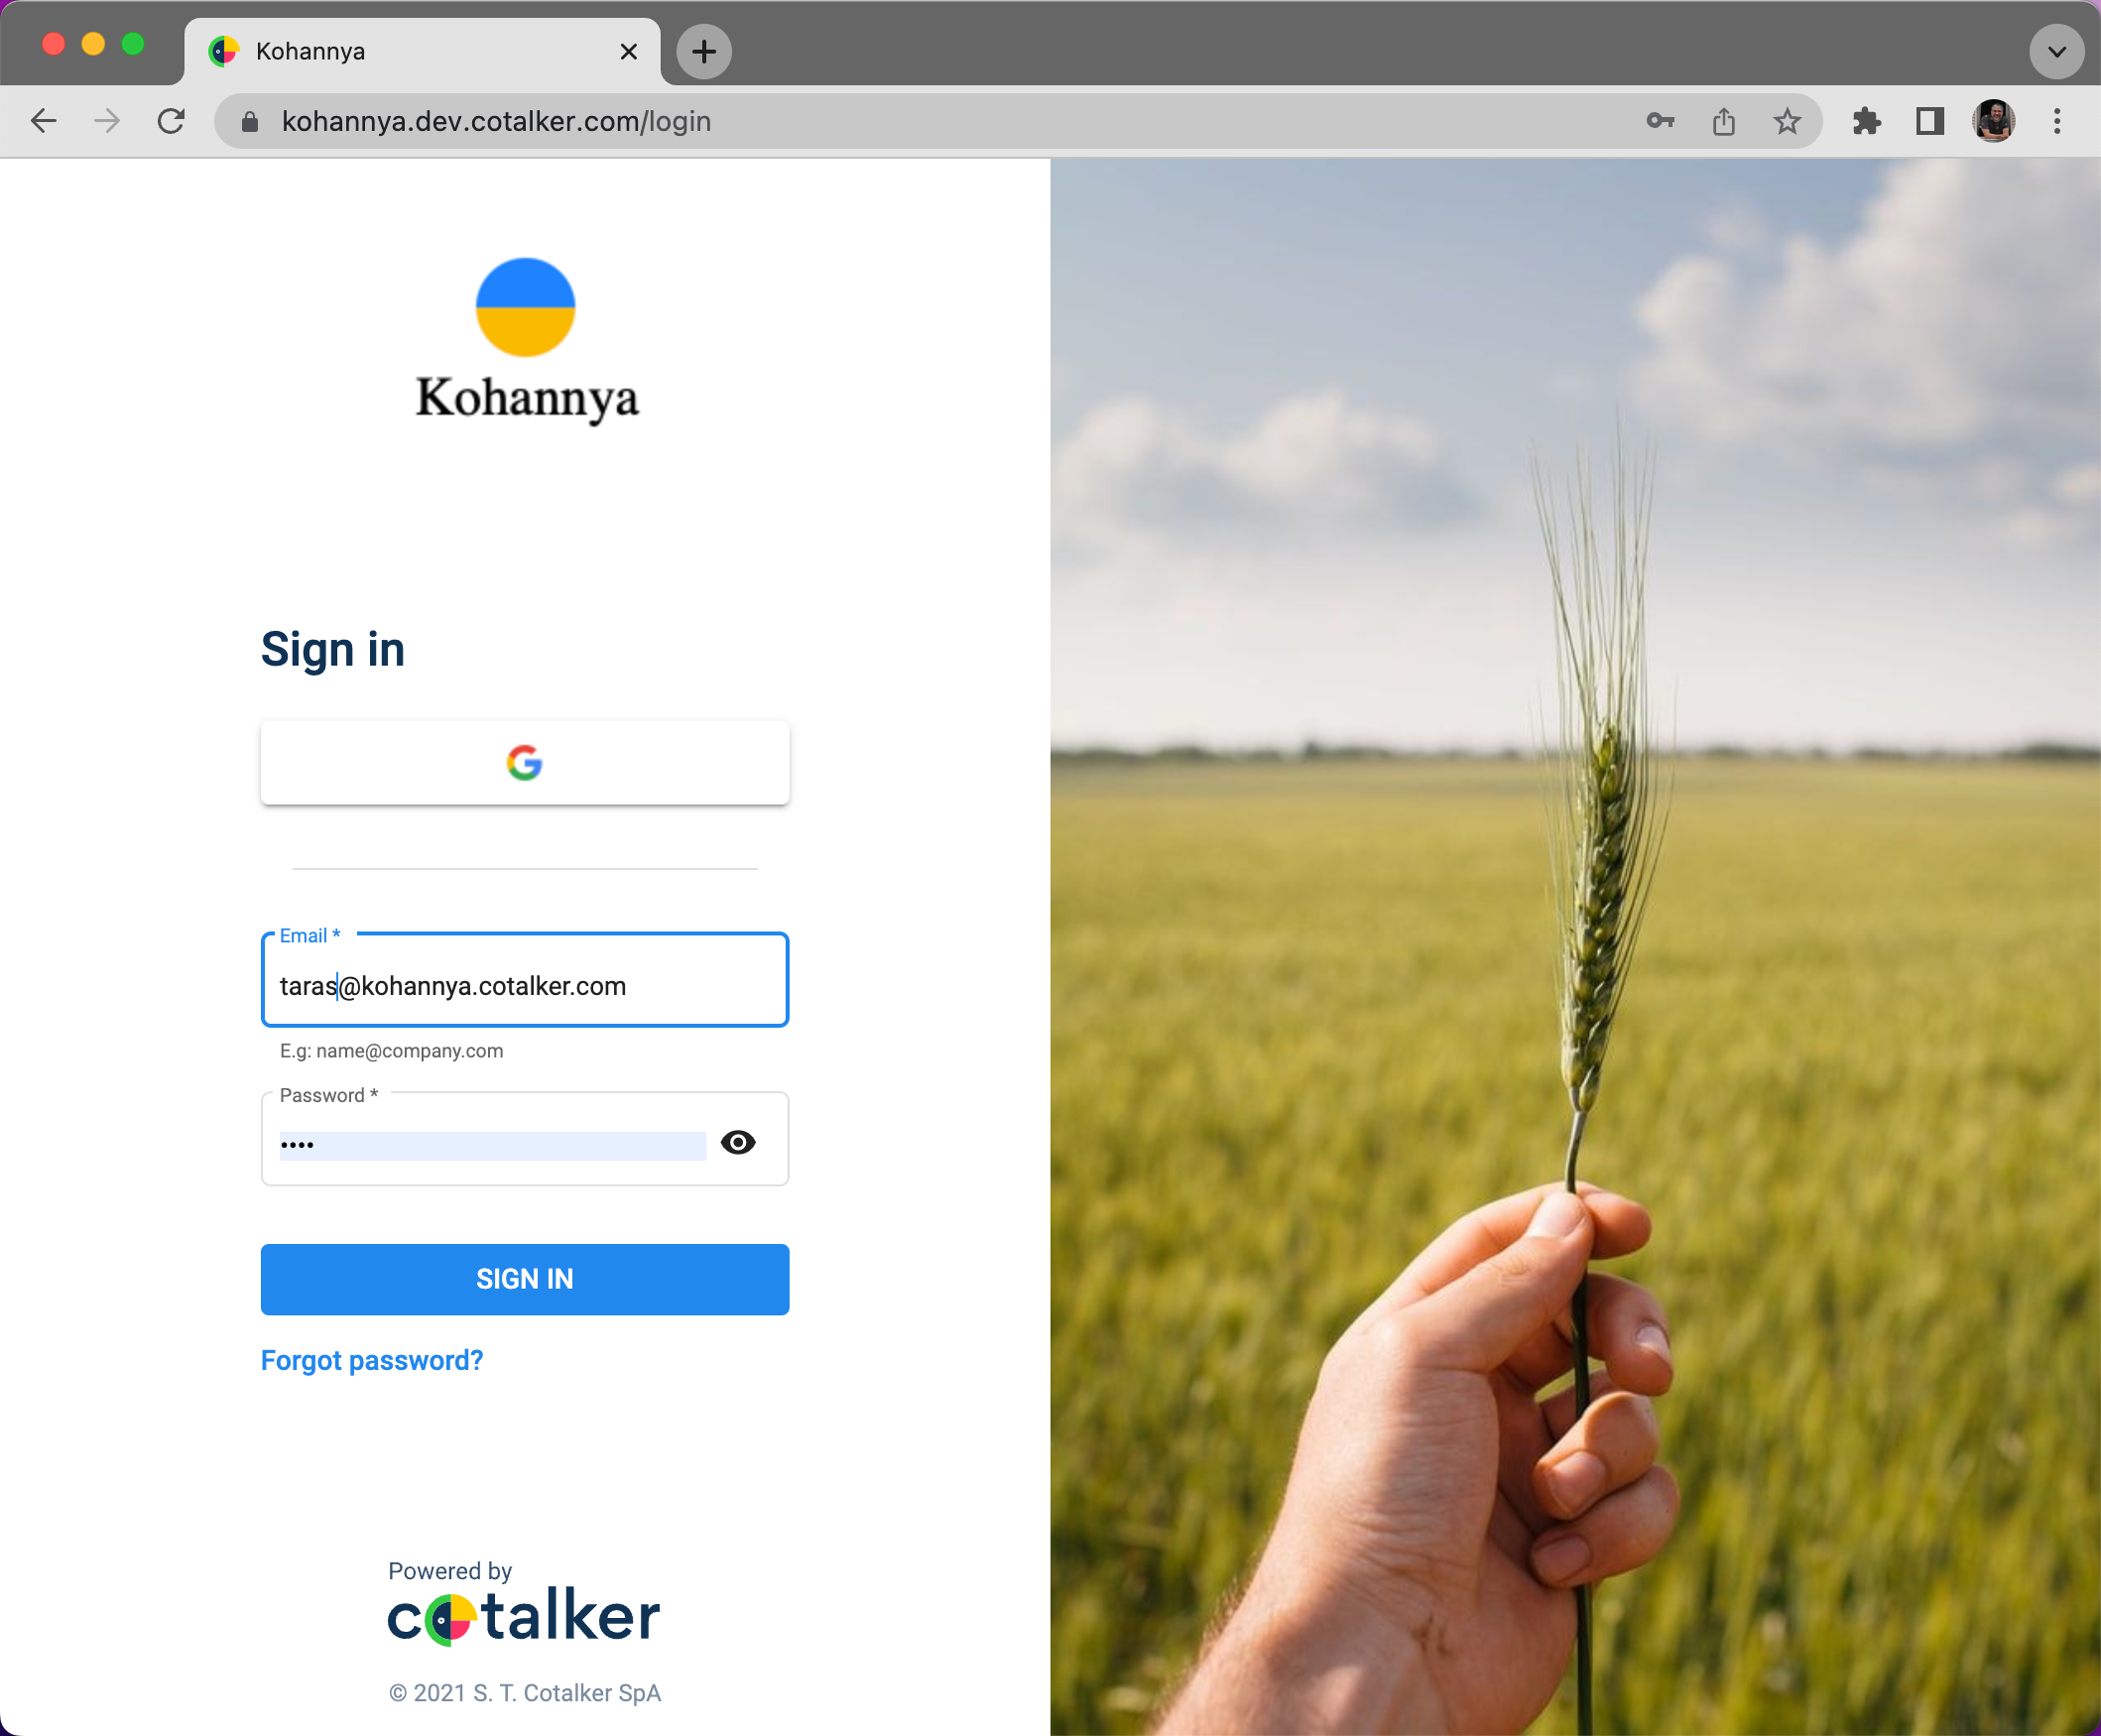
Custom Login Screen Example
Here's an example of a customized startup screen with a new logo and side image. Furthermore, Google Sign-in was enabled in this customization, and the browser tab was set to display the company´s name.
Custom Platform Example
Below is an example of how you can change colors, customize buttons, and add a logo on the Cotalker platform.
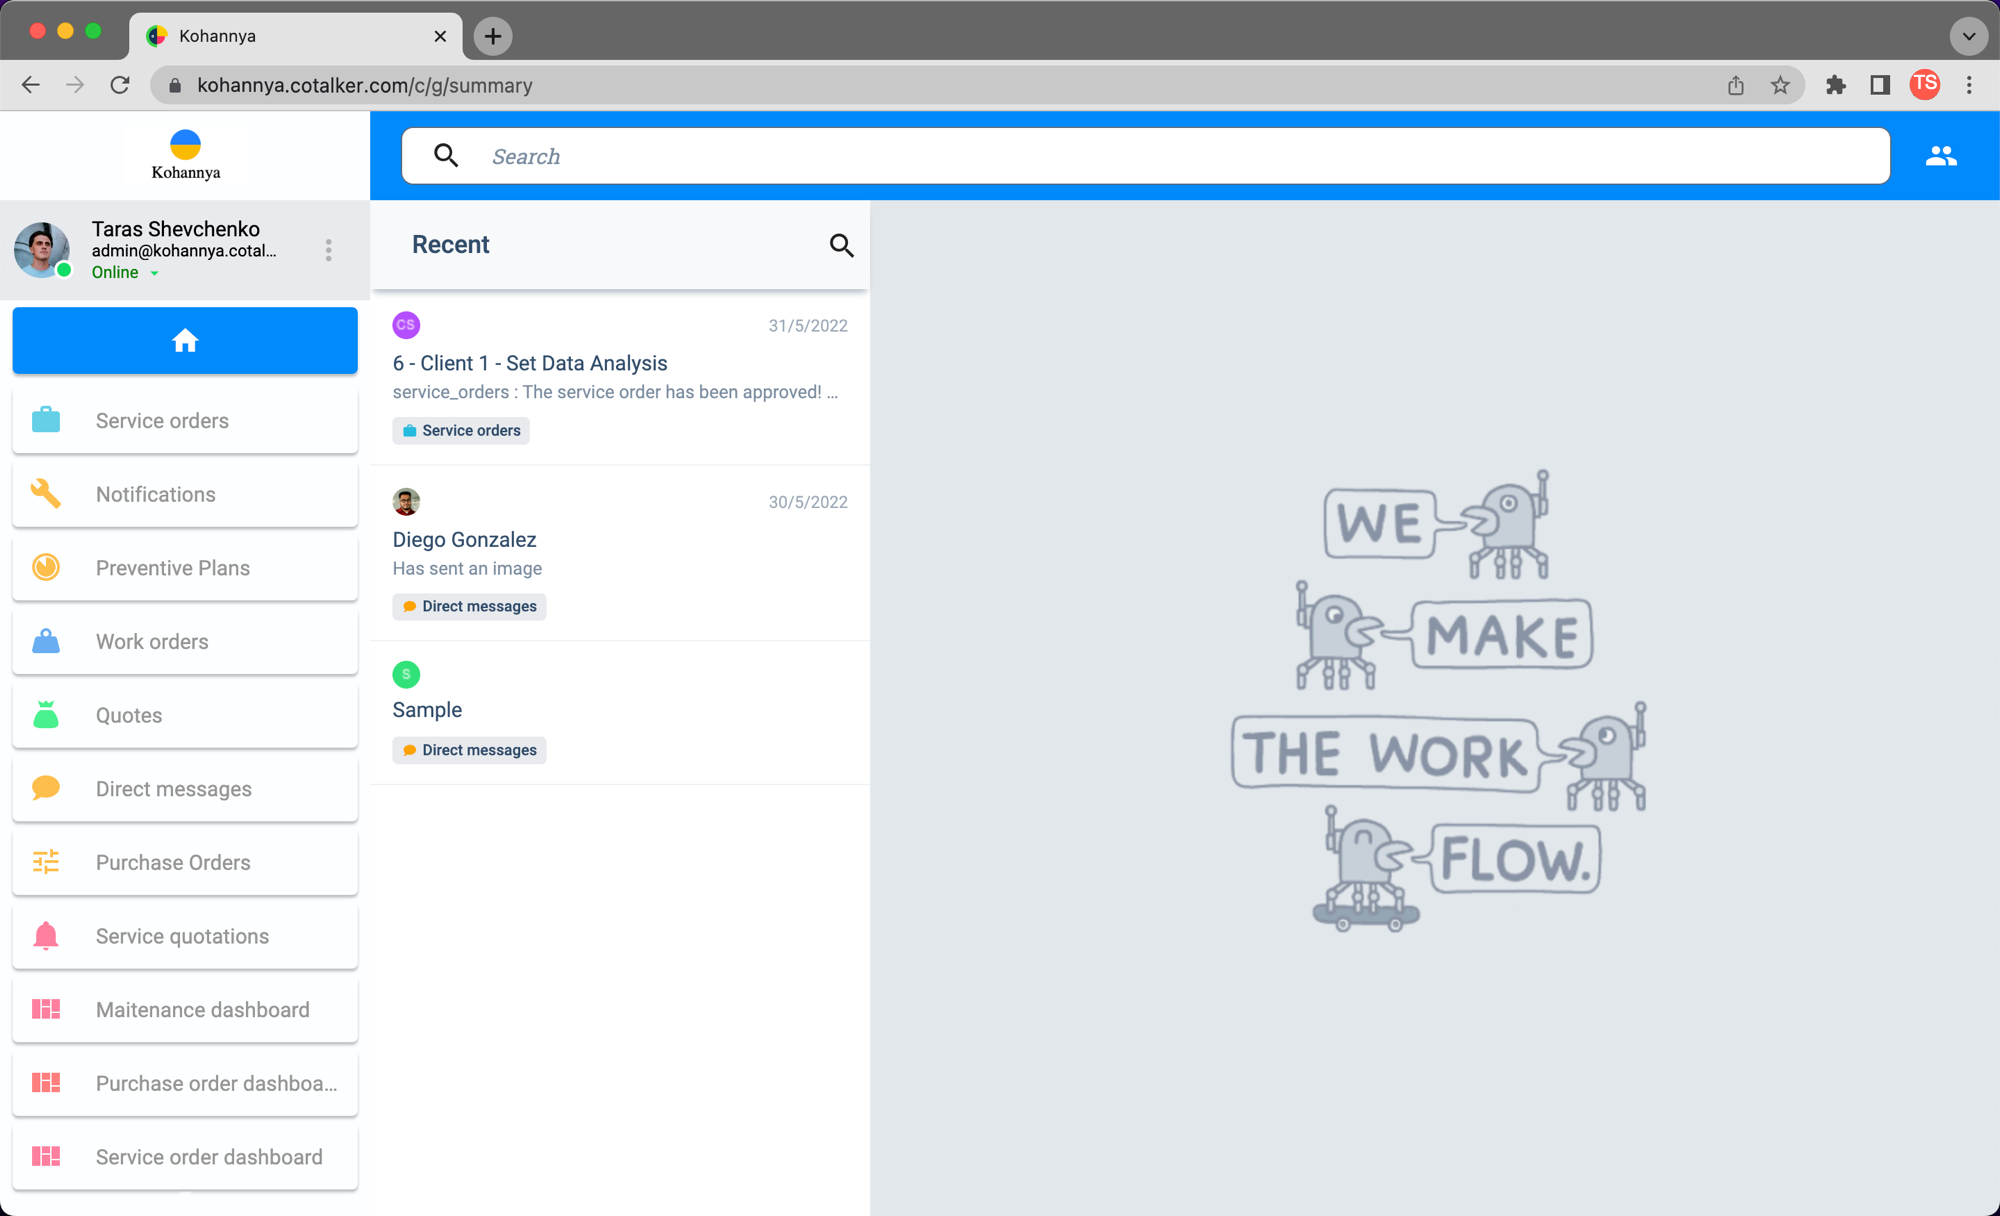
The CSS code used for the example shown above is included in the CSS Settings section.
How-To
To apply changes, you must:
- Make an API PATCH request to the companies endpoint.
- The body of the request must contain a
brandingobject.
- Examples and tips for the API request with body details are given below.
- The
brandingobject that must be included in the request body is described in thecompanies.brandingdata model specifications. - The API reference guide for the PATCH request on the companies endpoint is available in the Update a Company section.
Below is an example of the request being made through Postman.

API Request
To make changes to Cotalker's UI, send an API request to your company's endpoint using the PATCH method. The request must contain the branding object in its body. More about the request body is described below.
Request method and endpoint URL:
PATCH https://www.cotalker.com/api/v1/companies/{ObjectId<COTCompany>}
The {ObjectId<COTCompany>} path parameter is your company's ObjectId, which can be found in the companies endpoint in the _id field. You can access the endpoint through the Get a Company API request.
Body
Send a request body with a branding object, as shown in the example below:
{
    "branding": {
        "isActive": true,
        "names": {
            "name": "kohannya",
            "shortName": "Kohannya"
        },
        "urls": {
            "app": "https://kohannya.dev.cotalker.com",
            "api": "https://dev.cotalker.com"
        },
        "translations": {
            "en": {
                "admin.main_title": "Адміністративна панель",
                "subjects.state_machine_groups_other": "Групи робочого процесу",
                "subjects.state_machine_other": "Робочі процеси",
                "subjects.link_groups": "Групи посилань",
                "subjects.group_other": "Групи",
                "descriptors.admin_menu_section": "Розділи"
            }
        },
        "style": {
            "customCss": ".login-right-side-whitelabel-img {background: #FFFFFF} .empty-channel-state {background: #FFE800} .profile-section-background {background: #004DFF} .search-bar-container {background: #004DFF} .side-menu {background: #004DFF} .group-menu-button {background: #004DFF} .administrations-menu-button {background: #004DFF} .feature-container {background: #FFE800}"
        },
        "images": {
            "logotype": "62a09637cf27b4b1e16a88c4",
            "isotype": "62a00adccf27b45eb96a88be",
            "icon512": "62a00af2cf27b464c46a88c0",
            "login": "629fadc1cf27b4e7046a88ba"
        },
        "auth": {
            "azureAD": {
                "isActive": false,
                "clientId": "",
                "authority": "",
                "redirectUri": ""
            },
            "googleSignIn": {
                "isActive": true
            }
        }
    }
}
CSS Settings
Copy and paste your CSS code in the branding.style.customCss field. The code must be sent in string format, i.e., contained within quotation marks.
You can obtain selectors, i.e., the CSS tags associated with the elements you want to modify, with Chrome Developer Tools or a Chrome extension like CSS Peeper.
Code Samples
The CSS code displayed here corresponds to the example shown in the Overview section:
{
    "branding": {
        "style": {
            "customCss": {
                ":root { --white-label-primary-color: #FCFEFF; --secondary-color: rgba(var(--white-label-secondary-color), 0.12); --secondary-color-focus: #028AFB; --general-menu-text-color: 150, 150, 150; --profile-background-color: #E7EAED; --profile-name-color:  black; --profile-email-color:  black; --menu-buttons-shadow: 0px 2px 2px rgba(0, 0, 0, 0.25); --menu-buttons-text-color: #969696; --menu-buttons-text-color-selected: white; --search-bar-background-color: #028AFB;} cotalker-task-list {background-color: white;} cotalker-task-item cotalker-tag .tag-container {background-color: #E2E6EA !important;} cotalker-task-item cotalker-tag span {color: rgba(17,51,85,.56) !important;} cotalker-group-menu .logged-user-status-display {color: green !important;} cotalker-group-menu .cot-icon-font {opacity: 1 !important;} cotalker-group-menu.expanded .cot-icon {filter: contrast(1) brightness(1) opacity(1) !important;} cotalker-group-menu .cot-icon {opacity: 1 !important; filter: contrast(0) brightness(1) opacity(0.85) !important;}"
            }
        }
    }
}
This CSS code corresponds to the example displayed below:
{
    "branding": {
        "style": {
            "customCss": {
                ":root {--white-label-primary-color: #4D4F53;} cotalker-root {background-color: #E5E5E5;} .login-container {background-color: #8BBB00;} .group-menu-overlay {background-color: rgba(77, 79, 83, 0.24);} .whitelabel-powered-by-cotalker {background-color: rgba(255, 255, 255, 0.12);} .account-widget a {background-color: rgba(77, 79, 83, 0.97);} .account-widget.selected a, .account-widget a:active, .account-widget a:focus {background-color: rgba(255, 255, 255, 0.12);} .side-menu li a.selected, .side-menu li a.group-item:active, .side-menu li a.group-item:focus {background-color: rgba(255, 255, 255, 0.12);} .expanded .account-widget a:hover {background-color: rgba(255, 255, 255, 0.12);} .expanded .account-widget.selected a, .expanded .account-widget a:active, .expanded .account-widget a:focus {background-color: rgba(255, 255, 255, 0.12);} .expanded .side-menu li a:hover {background-color: rgba(255, 255, 255, 0.12);} .expanded .side-menu li a.selected, .expanded .side-menu li a.group-item:active, .expanded .side-menu li a.group-item:focus {background-color: rgba(255, 255, 255, 0.12);}"
            }
        }
    }
}

Images
To change images and icons, you must:
- First, upload the images. Use the Upload a File request to upload your image files. In the request body, set the uploadInput key to
{ "public": true }. - Use the request's response to get the image's ObjectId. The response follows the COTFile data model.
- Use the ObjectIds as values in the corresponding
branding.imagesfields.
Code Sample:
Example:
{
    "branding": {
        "images": {
            "logotype": "628b9648dd6676581d5fd491",
            "isotype": "629e6e6af9a744da09a43f73",
            "icon512": "629e6e73697a860893d8fd2a",
            "login": "629e6e7b8ee85377e2b73da7"
        }
    }
}
| Image Field | Description |
|---|---|
| logotype | Corresponds to the logo displayed in the login screen, and above the main menu bar on the platform UI. |
| isotype | When the main menu bar is retracted, this image replaces the hamburger icon. |
| icon512 | This is the company icon and is displayed while the platform is loading or refreshing. |
| login | This is the image displayed on the righthand panel of the login screen. |
Text Translation
Currently, there are three language sets for the Cotalker UI: English (en), Spanish (es), and Portuguese (pt). The language is chosen automatically depending on the language you have your browser set on. For example, if your browser is set to Spanish, then Cotalker will automatically set itself to Spanish. If you use any language other than Spanish or Portuguese, it will be set to English.
In case your company wishes to translate Cotalker's UI to another languger or perhaps even modify default UI texts into something more appropiate for your company's identity or culture, you can introduce the required modifications into the branding.translations object.
To change UI text, you must indicate the text identifier key, i.e., the text section you wish to modify, with its corresponding new value in the branding.translations object.
Ask your Cotalker representative or support team for the corresponding text identifier keys.
Code Samples
Translated text sections:
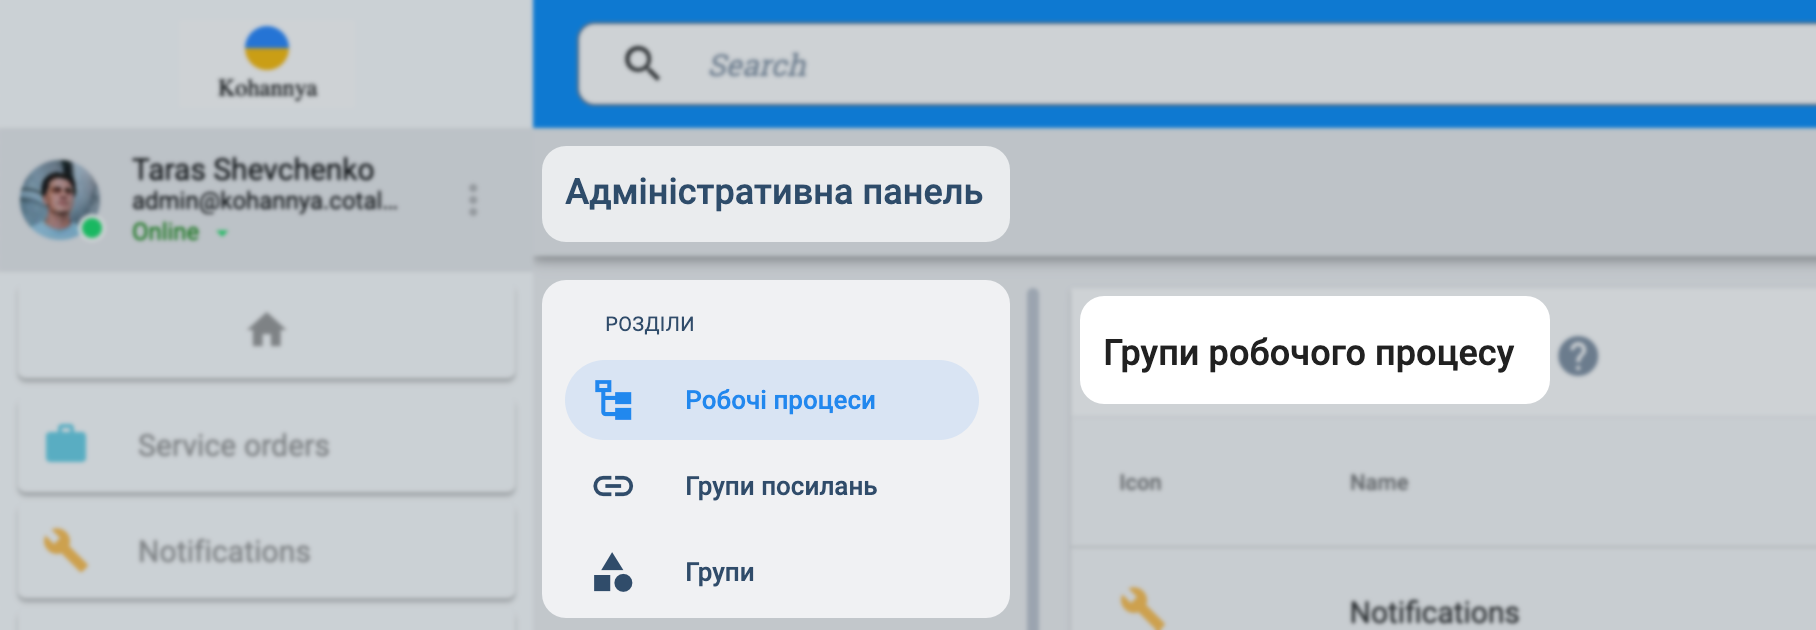
The code used for the example above modifies the English version:
{
    "branding": {
        "translations": {
            "en": {
                "admin.main_title": "Адміністративна панель",
                "subjects.state_machine_groups_other": "Групи робочого процесу",
                "subjects.state_machine_other": "Робочі процеси",
                "subjects.link_groups": "Групи посилань",
                "subjects.group_other": "Групи",
                "descriptors.admin_menu_section": "Розділи"
            }
        }
    }
}
External Authentification
Through the branding.auth object, you can also enable user login with your company's Google and Microsoft accounts.
- Go to the COTCompany data model section for
branding.authfield descriptions. - Visit the Microsoft Azure AD Sign-in Configuration section for a step-by-step tutorial.
- Ask your Cotalker sales representative or support team for more information.
This feature's availability may depend on your company's Cotalker plan. Speak with your Cotalker sales representative for more information.
Code Sample
{
    "branding": {
        "auth": {
            "azureAD": {
                "isActive": false,
                "clientId": "",
                "authority": "",
                "redirectUri": ""
            },
            "googleSignIn": {
                "isActive": true
            }
        }
    }
}