Create Database
Tutorial on how to create database collections and elements.
Time: 10 minutes
Collections are like database tables and elements are like the rows of the table. Yet they are are not bound to columns or fields, making them very flexible and adaptable to all sorts of data that needs to be stored and interacted with.
Company Requirements
Our mock company is organized in different areas, each having specific activities and needs. For example, an employee from the technology division doesn't have to attest incurred expenses while visiting a client as a field service representative would have to do.
The areas within the company are:
- board of directors
- finance
- cybersecurity
- commercial
- treasury
- risk management
- human resources
- IT
A reliable way to implement this requirement would be to create a collection containing elements that represent each area. This arrangement will allow you to organize interdependencies with other elements, collections, and components of the Cotalker environment (e.g. surveys, users, tasks).
Tutorial Objectives
Pre-Requistes
Access Role
Your user profile's access role must have at least the following permissions:
admin-access(permission to access the Administrative Panel)admin-properties-write(permission to create collections and elements)
In backend vocabulary, elements are referred to as properties and collections as property types.
Steps
A. Create Collection
I. Go to the Database panel.

- From the Main Menu Bar, press the Administrator button.
- In the Administrative Panel, select Database.
- The Database panel opens up with a list existing collections.
II. Open the Create Collection settings panel.
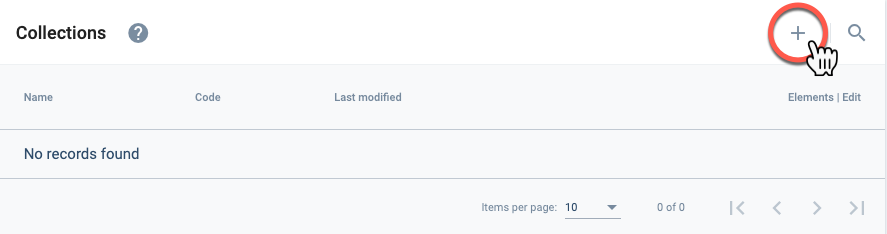
- Press the + icon to open the Create collection settings panel.
III. Set up the new collection.
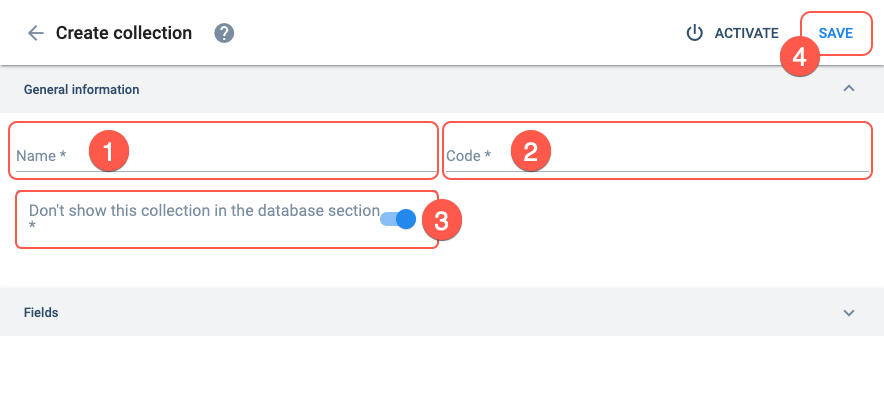
Complete the settings as indicated:
- Name: Department
- Code: department_00
- Don't show this collection in the database section: Toggle on.
- Press Save. (You will be taken back to the collections list in the Database Panel.)
- In step 2, Code is an identifier that must be unique and only allows lower case letters, numbers, and underscores.
- The "database section" mentioned in step 3 is accessible to some users to view collections and elements without having to enter the Administrative Panel.
B. Create Elements
I. Go to the collection's elements panel.
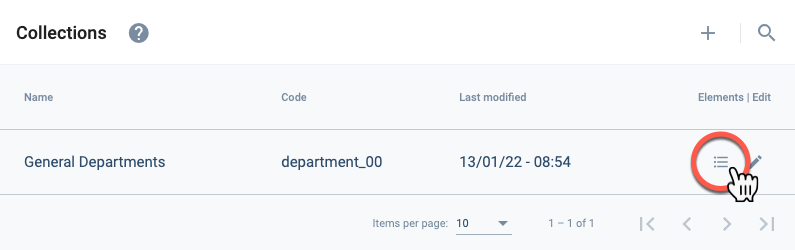
- From the Database Panel, press the list icon corresponding to the General Departments collection to go to the Elements panel.
II. Open the Create Element settings panel.
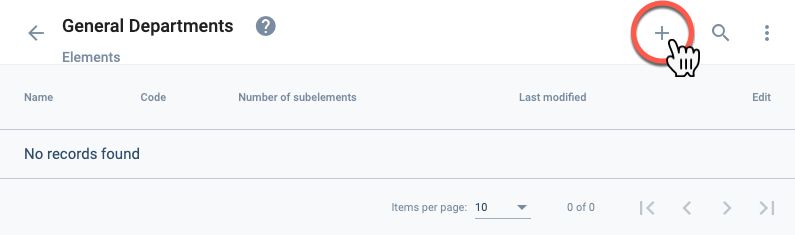
- From the Elements Panel, press the + icon to open the Create element settings panel.
III. Set up the new element.
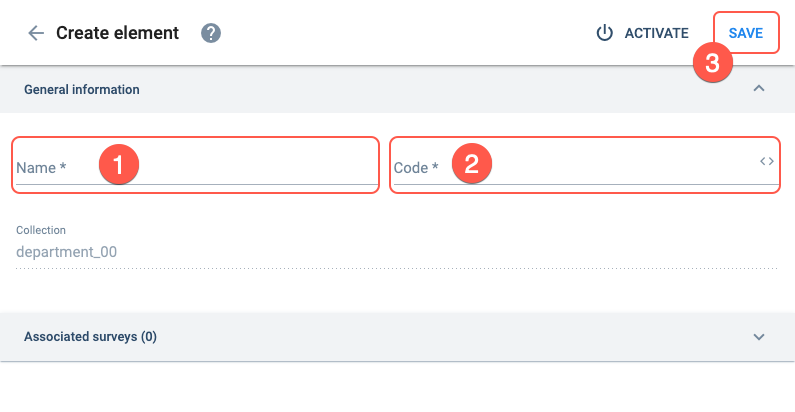
Complete the settings as indicated:
- Name:
Board of Directors - Code:
board_of_directors - Press Save. (You will be taken back to the elements list.)
The Code must be unique.
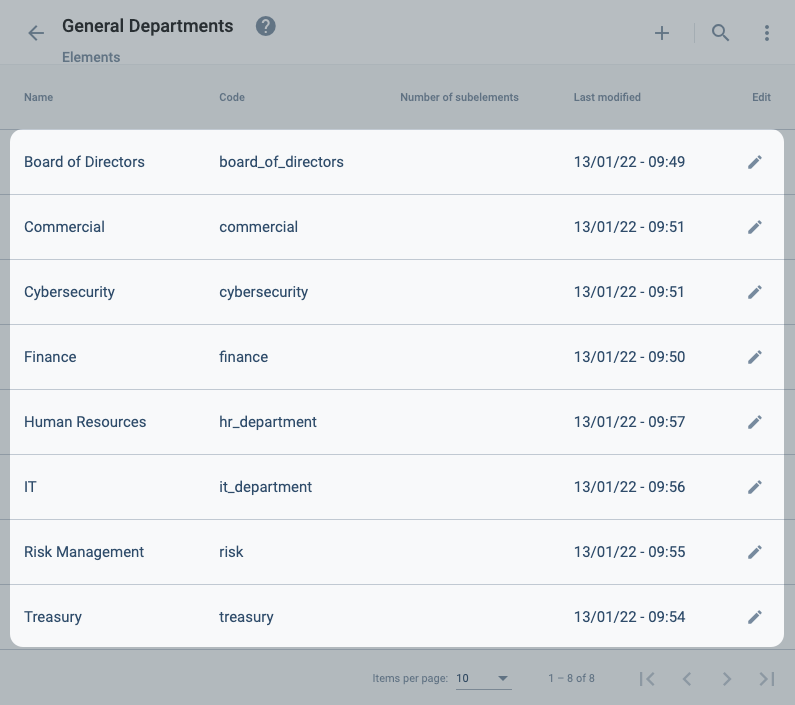
IV. Create the remaining elements.
- Repeat the process for all company areas:
- board of directors
- finance
- cybersecurity
- commercial
- treasury
- risk management
- human resources
- IT
Make sure to create all the elements representing company areas. We will be using them in the following tutorials.
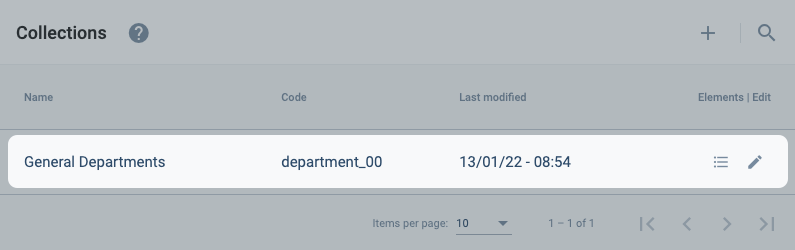
Expected Results
From the Database Panel, you should see the recently created _collection within the Collections table._
Within the Department collection, you should see all the elements you have created.
Related Topics
- Database: Administrative Panel documentation
- COTPropertyType: Collections data model
- COTProperty: Elements data model
- Property Types API: Collections API documentation
- Properties API: Elements API documentation
- Database Section: Database viewer for non-admin users.