Collections (Property Types)
Basic collection settings
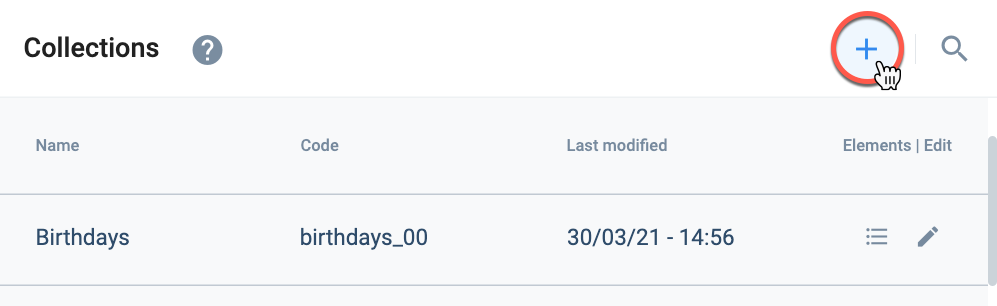
Create a Collection
From the Collections Panel, press the + icon to create a new collection. The new collection's settings panel will open up.
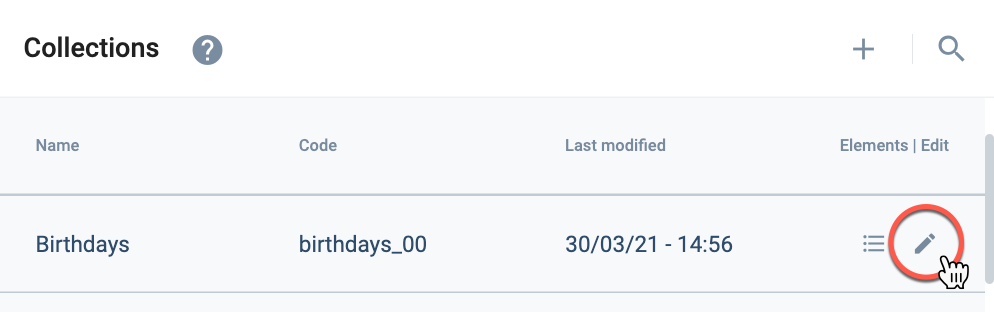
Edit a Collection
From the Collections Panel, press the corresponding pen icon. The collection's settings panel will open up.
Settings Panel Layout
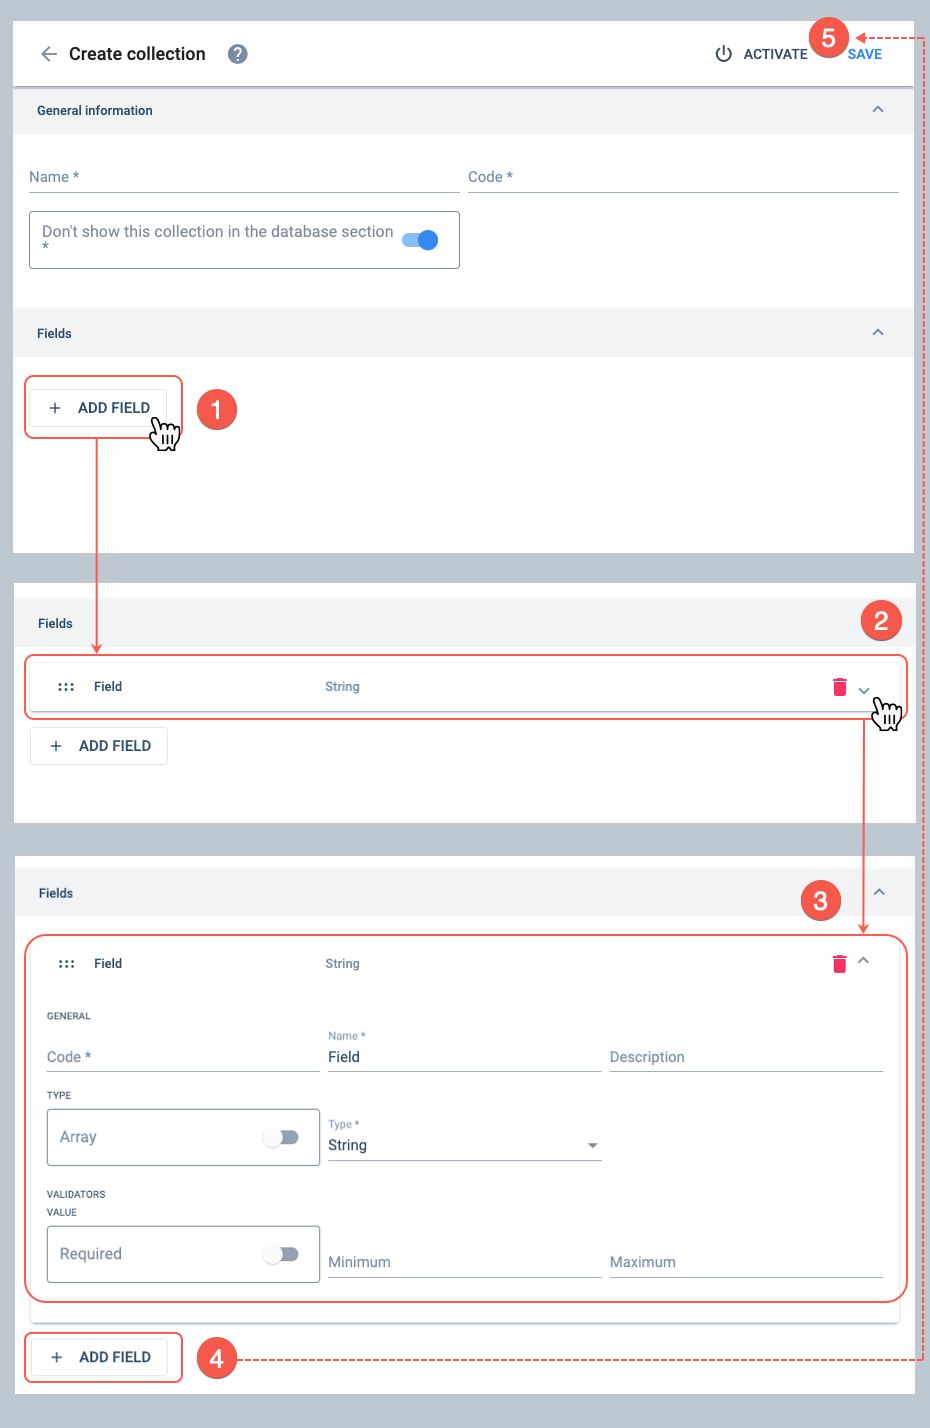
When creating or editing a collection, you will see this settings panel:
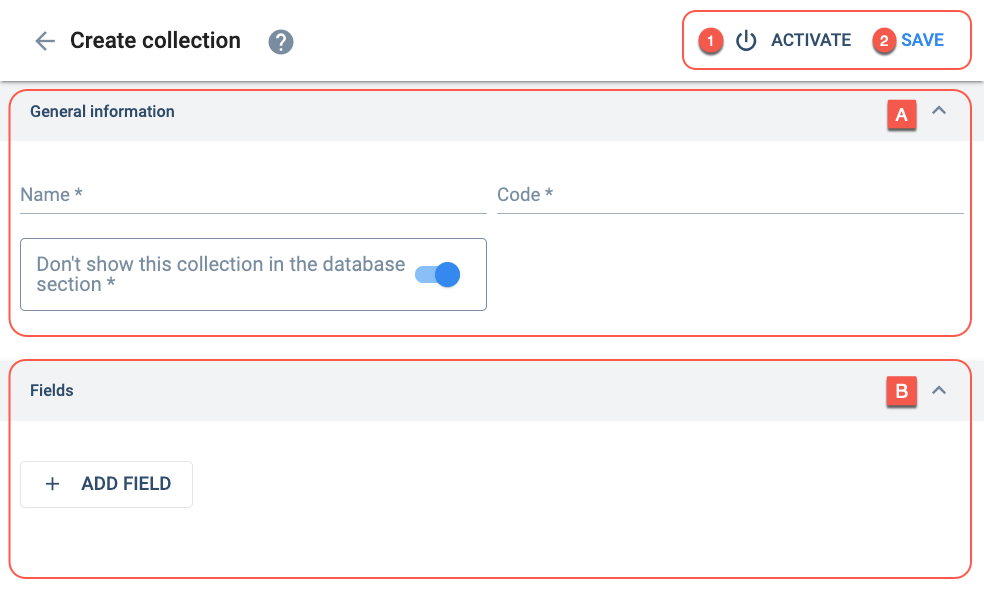
Actions:
- 1. Activate/Deactivate: Activates or deactivates the collection. Deactivating the collection makes it disappear from the database and could be re-activated through an API request.
- 2. Save: Saves the current collection settings.
Settings:
- A. General information: name, identification, and accessibility.
- B. Fields: Add, edit, and configure additional fields for all the elements in the collection.
A. General information
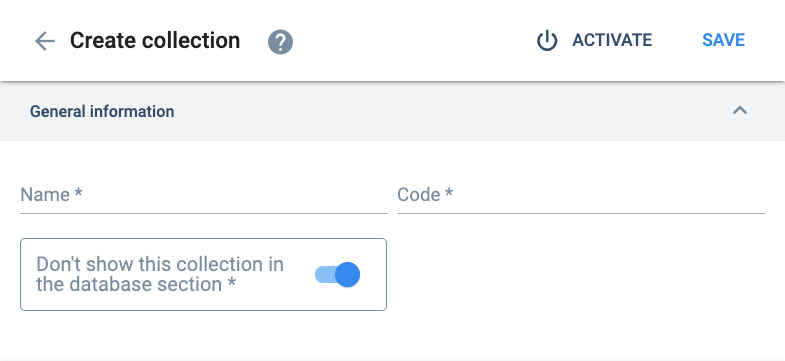
Only lowercase letters, numbers, and underscores are accepted. The code must start with a letter. Once you create and save the collection, you cannot change the code.
Toggling the bar off makes the collection available in the Database viewer.
If off, authorized non-admin-users will be able to view the collections and their data through the Database section's user-friendly interface.
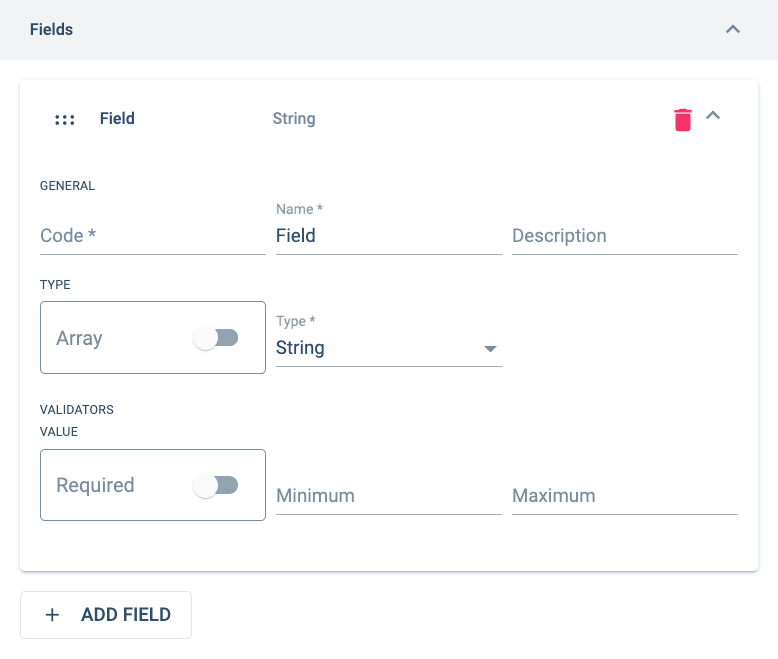
B. Fields
More details about creating additional fields are explained below.
The file option has a subtype which can be set to video, picture, or file.
The element option allows choosing among elements in a collection. The element subtype must be set to the corresponding collection.
The link option will request to specify how the URL will be displayed: embedded, internal or external.
About Additional Fields
Overview
An additional field is a generic term for supplementary fields you can create to associate extra data within Cotalker data models. You can create them for use on elements, tasks, or users. To set up additional fields, simply create a collection that will contain and relate all the elements with their additional field values.
For example, suppose a company desires to store specific employee information, like address, birthday, secondary email, etcetera. In that case, they can create a collection that will host the additional fields corresponding to the data they want to collect from their users. The additional fields will be available in the user profiles, and when they are filled in with values the data gets stored in an automatically created element in the collection hosting the additional fields.
Create Additional Fields
To create additional fields, create a new collection or choose the one that will host the additional fields and then go to the Collection Settings Panel to set them up.
- Under the Fields tab, press the + Add Field button.
- A Field component will appear. Pressing it will open up a settings panel.
- Configure the settings.
- If more fields are required, press the + Add Field button again and complete the configuration.
- Save.
- See the Fields section in the Collection Settings Panel for additional field settings.
- The additional field components can be dragged and dropped to sort them in the order you wish them to appear in the "element" settings.
Enter Values on Additional Fields
Once you save the collection, with its additional fields configured, the additional fields will be available to all the elements created within the collection and to all other models associated with the collection, such as users, workflows, or job titles.
You can enter values directly to the additional fields when creating or editing the elements belonging to the collection. As for the models associated with the collection, you can input values when creating or editing the "elements" related to them. For example, the additional fields associated with workflows will be available for the tasks you create upon them. The job title additional fields will be applied to the users associated with them. And users directly associated with the additional fields will have them available in their settings.