Create/Edit Workflow
Settings panel for creating and editing a workflow. Edit an existing workflow to configure settings not initially available when creating it. From this panel, modify and add states, routines, subtasks, start forms, and SLAs. Make your Start Forms public.
Create a Workflow
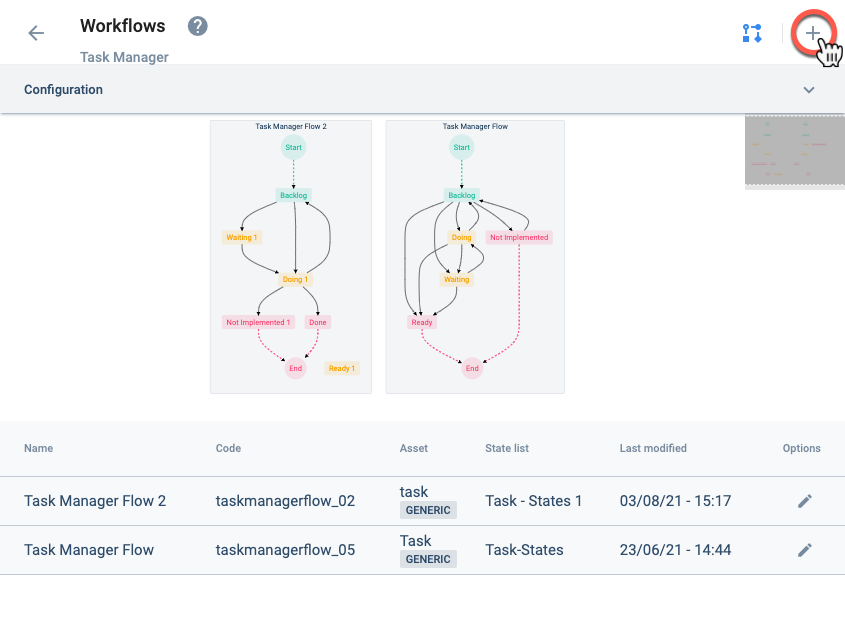
You can create a new workflow by pressing the + icon found in the upper right-hand corner of the Workflows Settings Panel.
Edit a Workflow
To edit a workflow, access its settings panel by either:
- Clicking on the workflow diagram:

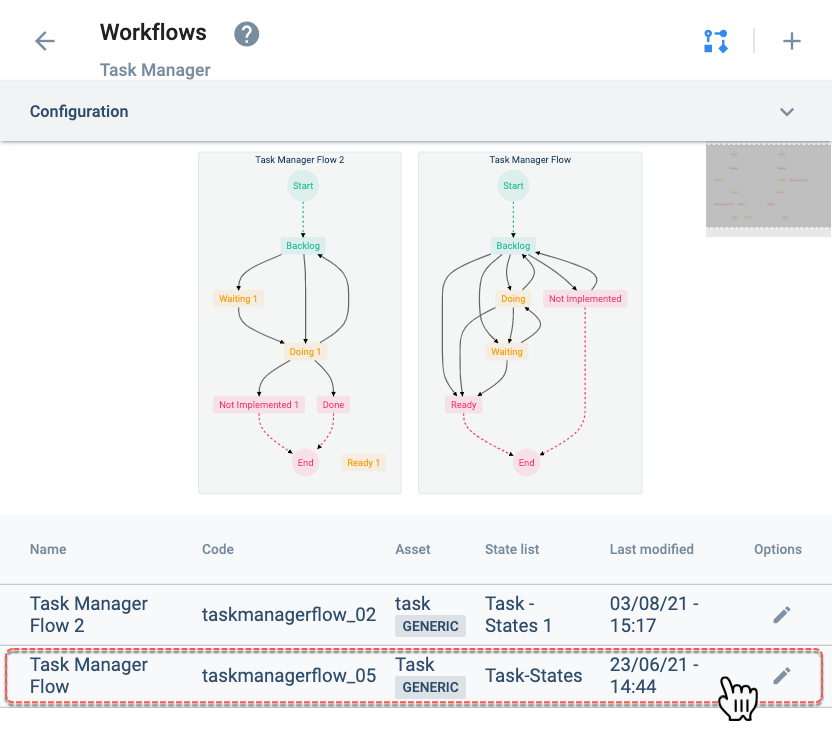
- From the list, click anywhere in the workflow's row:
Settings Panel Layout
After choosing to create or edit a workflow, the Workflows settings panel will open up.
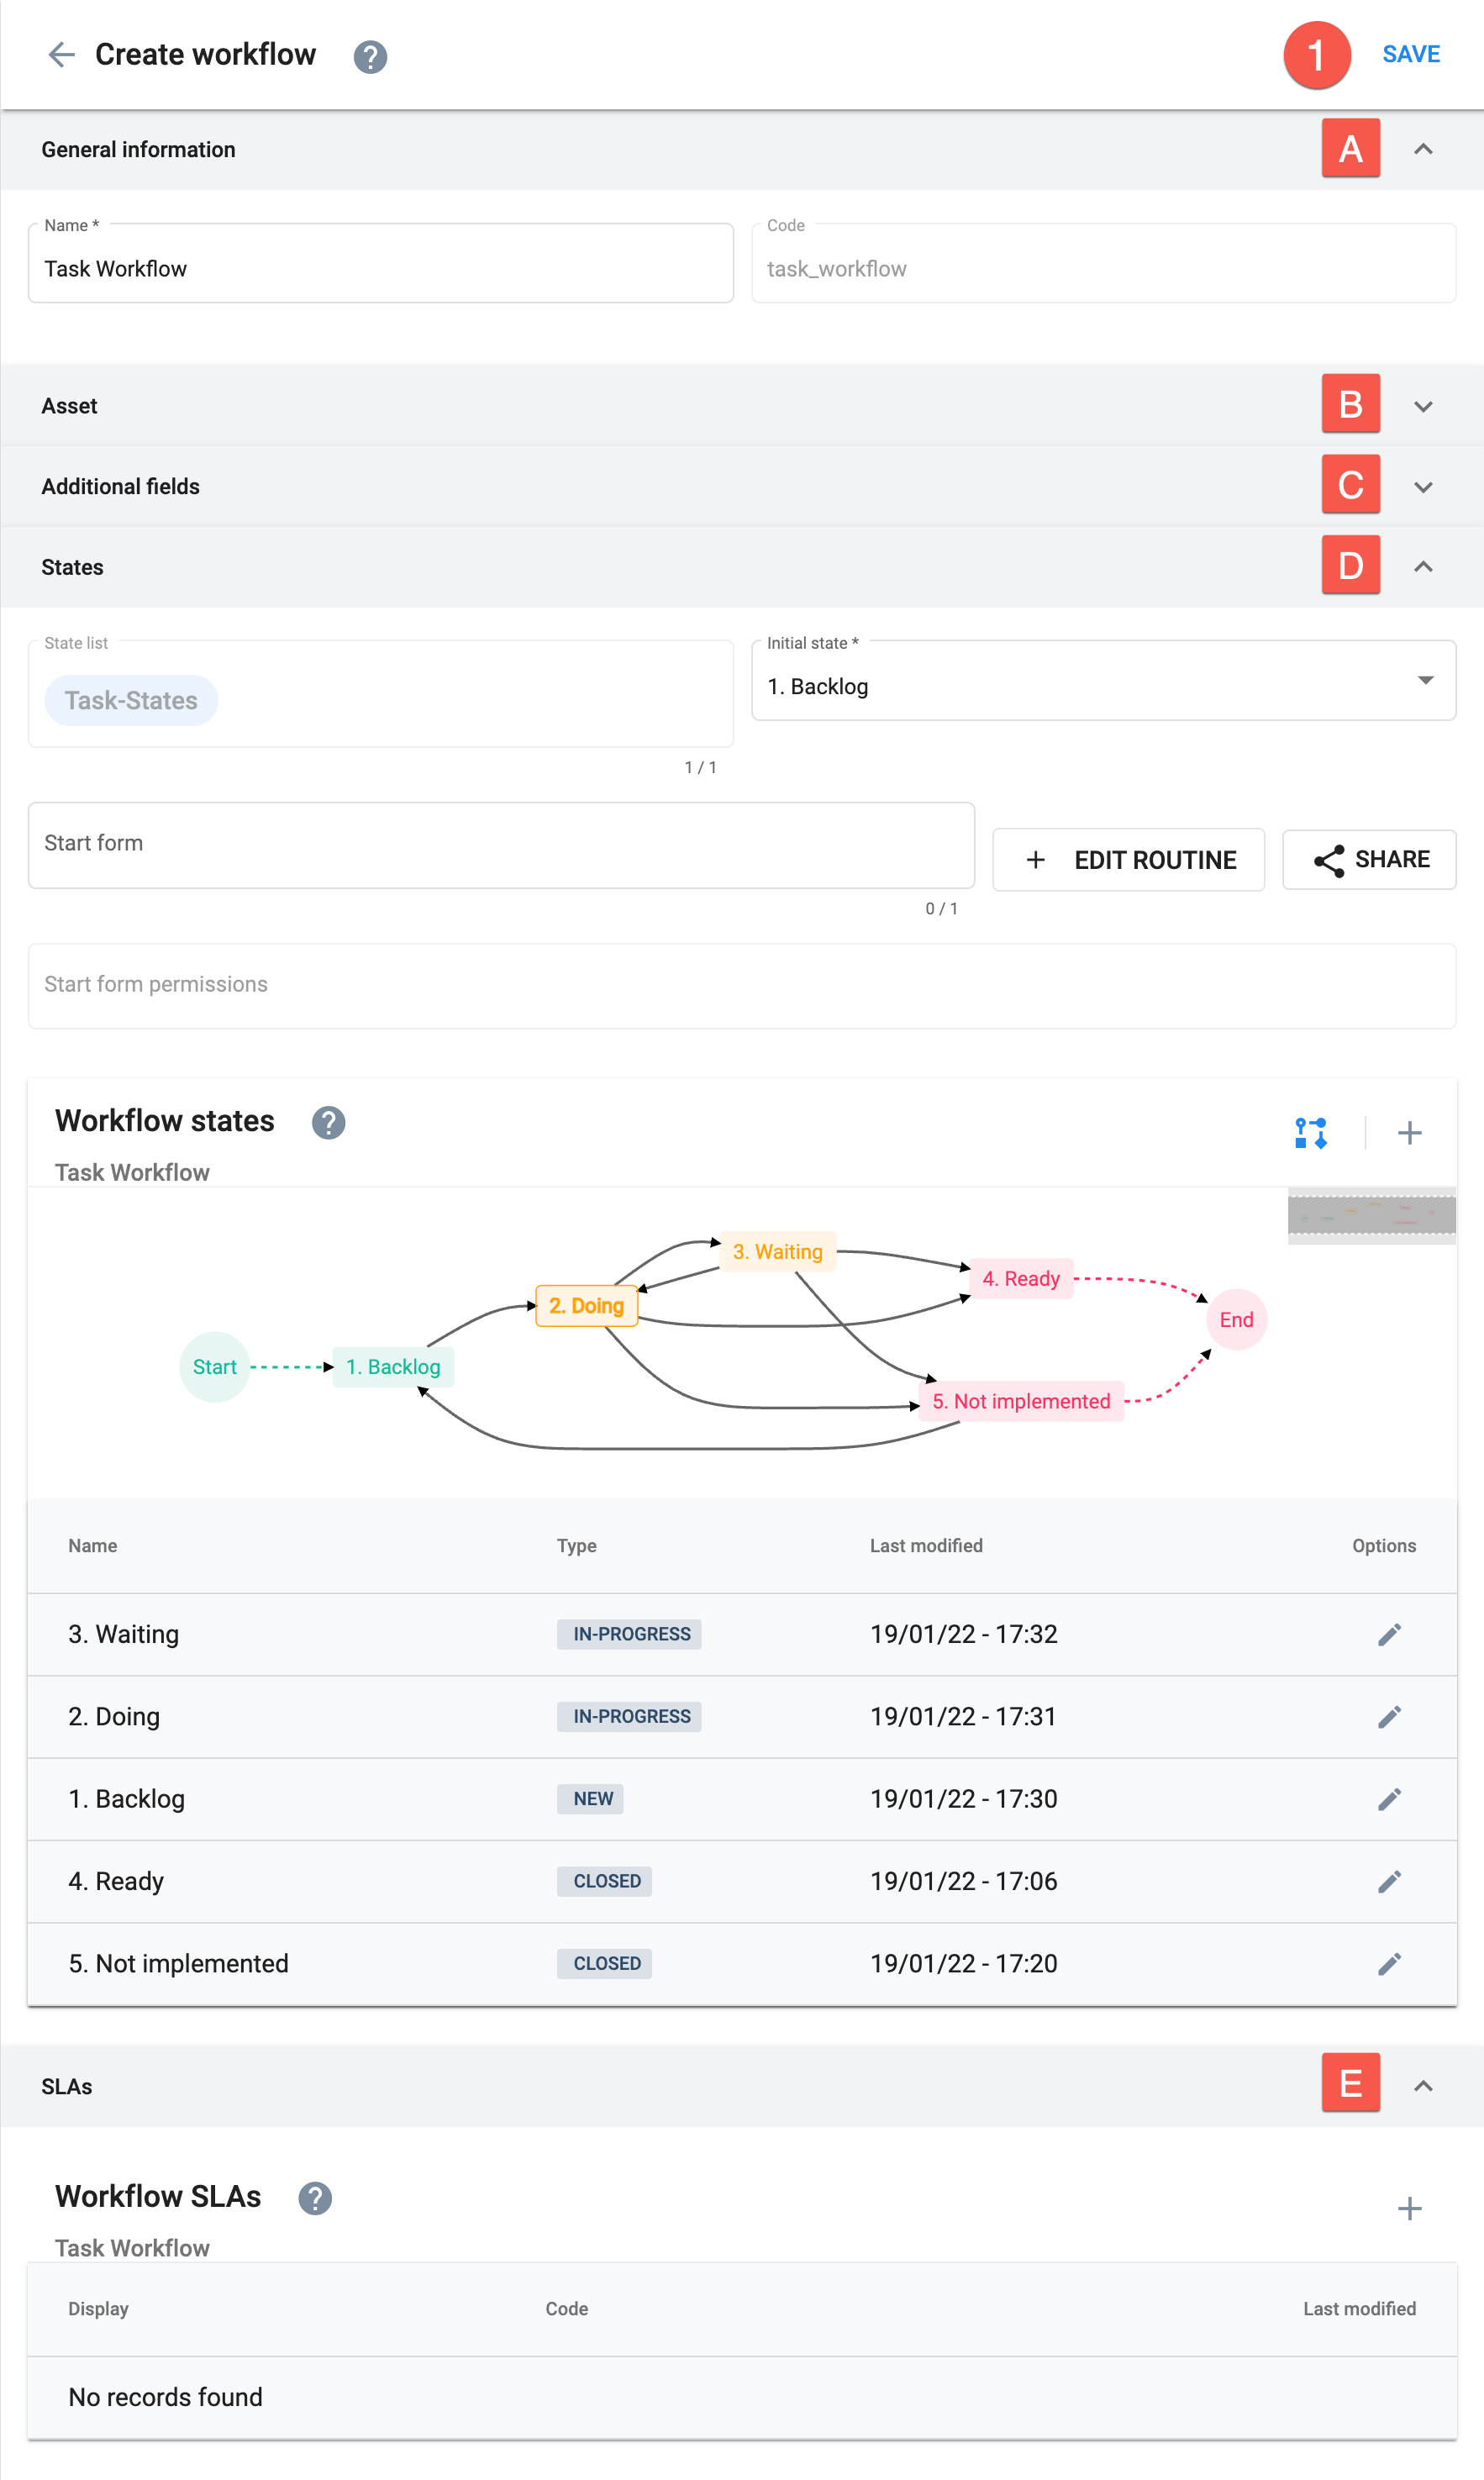
Options:
- Save: save current configuration
Settings:
A. General information

B. Asset

Choose the collection that will act as the asset. This collection is used to define the tasks on the workflow.
The collection's additional fields are shared with each task, giving tasks the necessary slots to store relevant data.
Task references are stored in the collection.
C. Additional fields
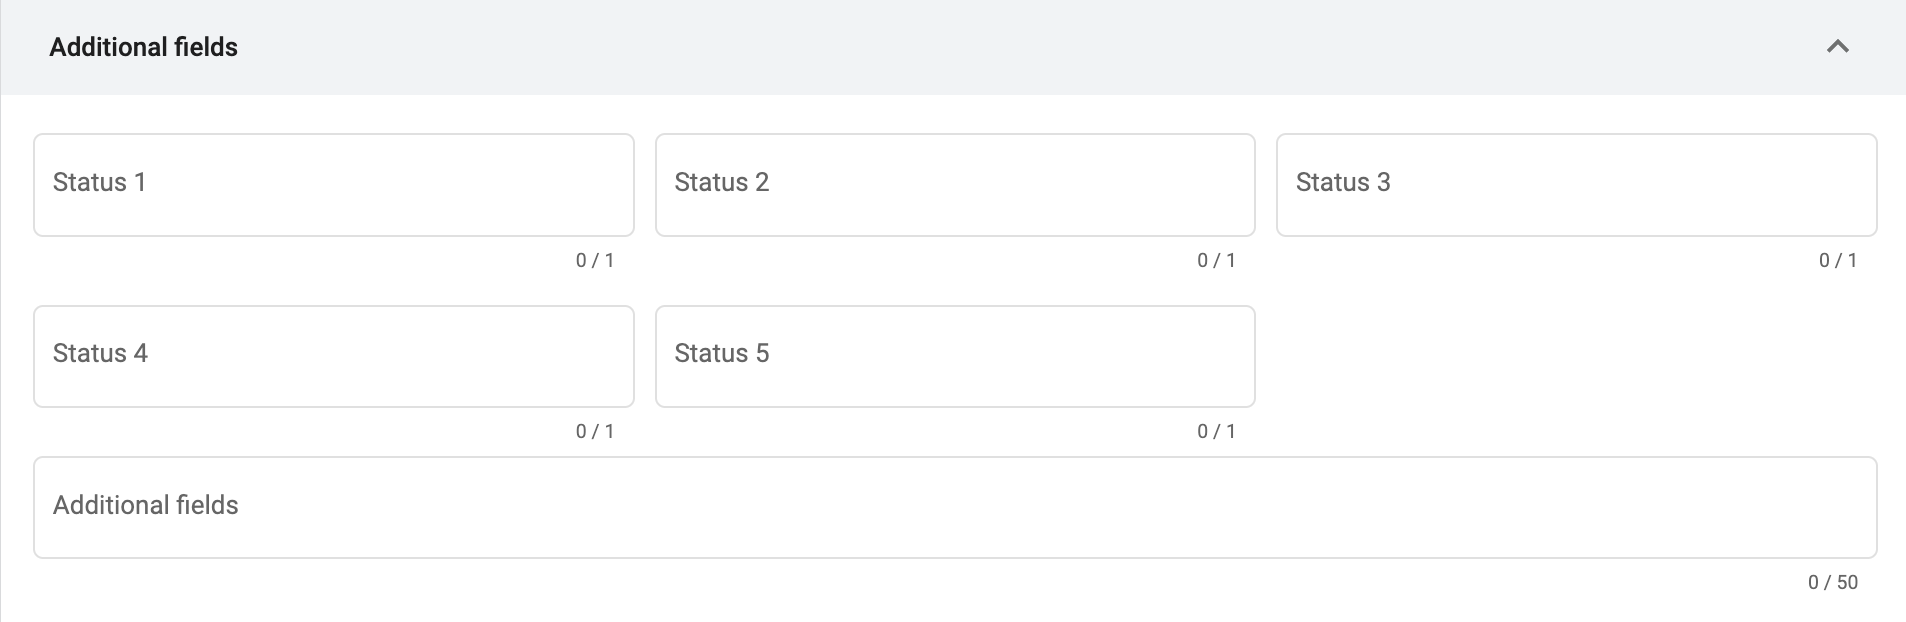
Adds a collection as an additional field or status on all tasks belonging to the workflow.
The elements within the collection are used as the available values (options) for each status.
Status options can indicate things like task priority, corresponding company department, or permissions for unassociated users.
Status values can also be used to filter, group, or sort the tasks in the task view.
Status fields are displayed on the general information of task details.
Status values appear on task descriptions when displayed on list or kanban views.
These collections correspond to the five status fields belonging to the dynamicPropertyTypes object of the COTSMStateMachine data model.
Collections used to add extra information to tasks. The additional fields contained within the selected collections will be used as additional fields on the task. Up to fifty collections can be selected.
The added collections with their respective additional fields can indicate things like task priority, corresponding company department, etc.
The additional fields can also be used to filter, group, or sort the tasks in the task view.
These additional fields will appear within extra tabs on task details.
These collections correspond to the allowedExtensions field in the COTSMStateMachine data model.
These additional fields differ from the statuses shown above (status 1-5). See "best practices" below for information on the preference of statuses over additional fields.
D. States
Items 7-10 are only available when editing a workflow.
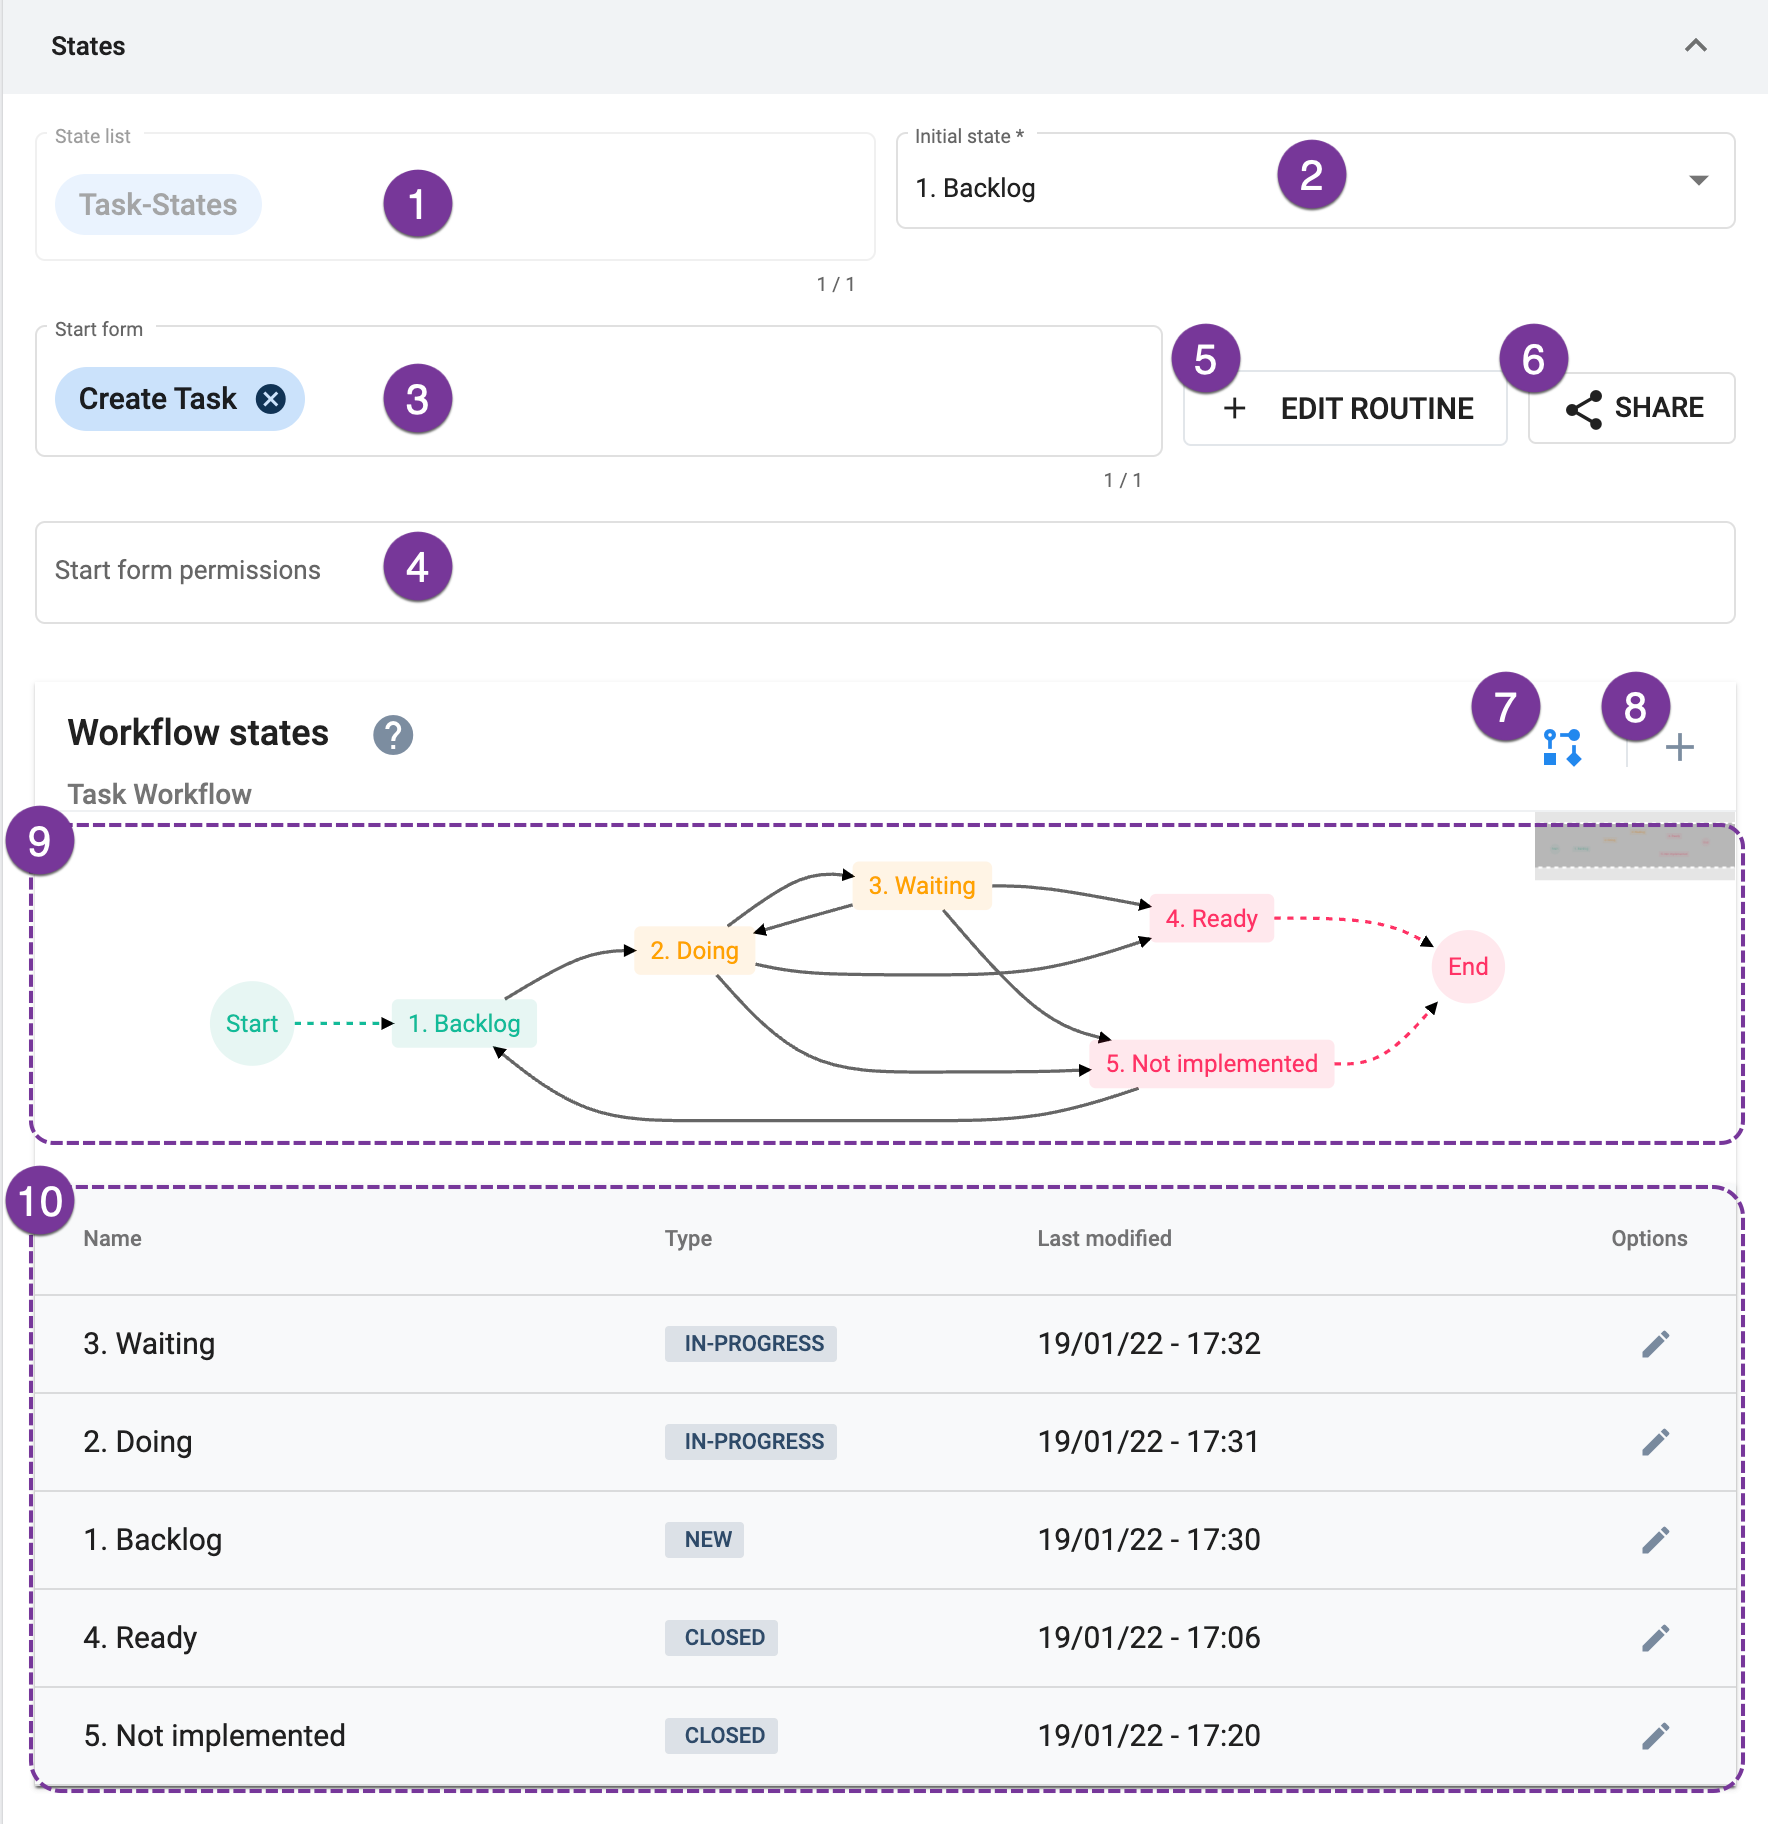
Available options are the elements present in the collection selected in the State list field.
Indicates that a survey will initialize the workflow. Remember to previously create the survey and choose it from the dropdown menu where all existing surveys will appear as options.
Once selected, the Share button will appear.
Go to Start Forms for more setup information.
Users are assigned permissions through their access roles.
Click here to learn more about routines.
Press this button to get a link which will permit you to share the survey outside the Cotalker environment. Appears when a survey is selected in the Start form field.
See the Survey documentation for more details.
Press this icon to hide or display the workflow diagram.
After pressing the + icon to create new states in the workflow, the Create State settings panel will open up.
Displays the states that exist within the workflow. Press anywhere within a row to edit the corresponding state.
E. SLAs
This section in only available when editing a workflow.
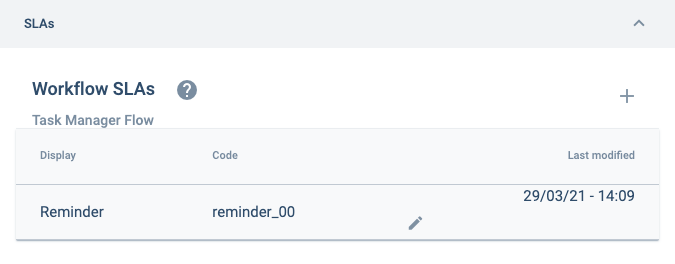
A service-level agreement (SLA) can be incorporated into the workflow. When a task does not change from one state to another at a pre-determined time, a routine can be built to take a course of action, like sending a reminder to whoever was assigned the task.
For information on how to add an SLA routine to your workflow, go to the SLA Routine section.
Best Practices
Associating Tasks from Different Workflows
If needed, you can associate tasks that belong to different workflows. To do this, go to the Asset section in the Create/Edit Workflow settings panel. Set the type of each workflow to unique. The id of the task that is to be associated must be included as an additional field of the asset (element) of the other task's workflow.
For example, if Task 1 from Workflow A is to be associated with Task 5 of Workflow B, the element set as the asset of Workflow A must include the Id of Task 5 in its additional fields. This will permit a routine to communicate with Task 5 from Task 1, which would be the case if a Network Request is used to call the asset of Workflow A to obtain the Id of its associated task, i.e., Task 5, and hence, being able to automatically send a message to Task 5's channel or performing any other automated action in the channel.
The same can be done using child elements (subproperties) instead of additional fields with task Ids.
Using Additional Fields in Workflows.
When using additional fields in your workflows, you will find two types of additional fields.
Two types of additional fields for workflows:
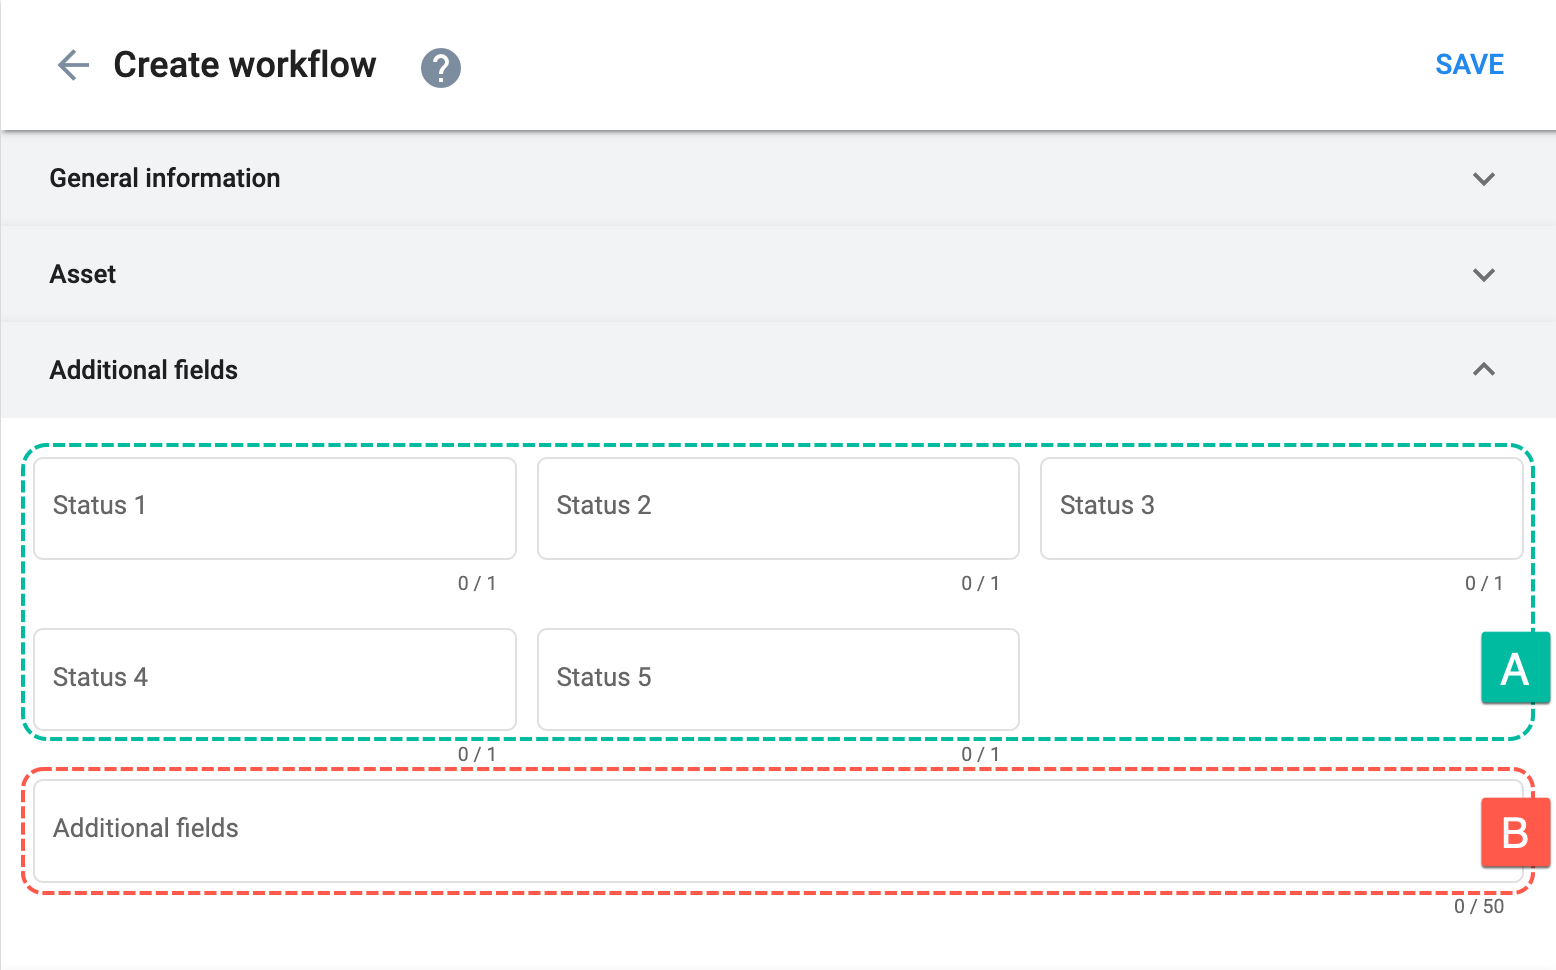
The five statuses (A), found in the Additional Fields tab, correspond to the dynamicPropertyTypes field in the workflow's data model (COTSMStateMachine) and are displayed as standard task settings on the task details panel.
The additional fields slot found at the bottom of the section (B) can contain multiple collections and are stored in the allowedExtensions field of the COTSMStateMachine data model. These additional fields are displayed as extra tabs in the task details panel.
As best practice, it is recommended to use the first five statuses (A) because their structure permits greater consistency between the elements.