Channel Settings
View, create, and edit group channels.
Access the Channels Panel
To access the channels within a group:
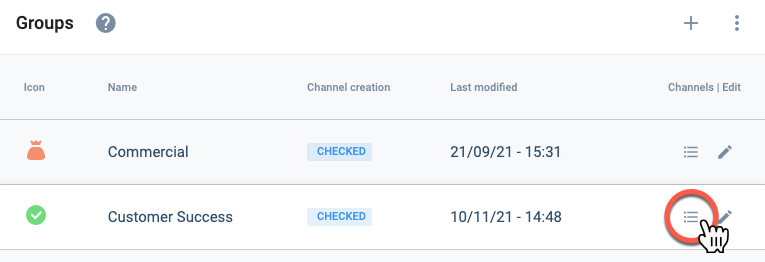
- Go to the Groups section.
- Select the list icon of the group containing the channels you wish to view.
- The Channels Panel will open up displaying a table with all the channels within the group.
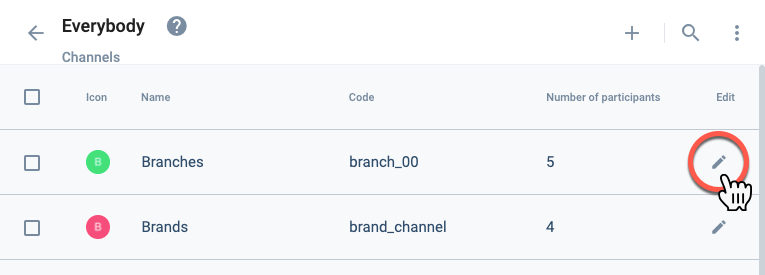
Channels Panel Layout
The Channels Panel is a table that displays all existing channels within a group.
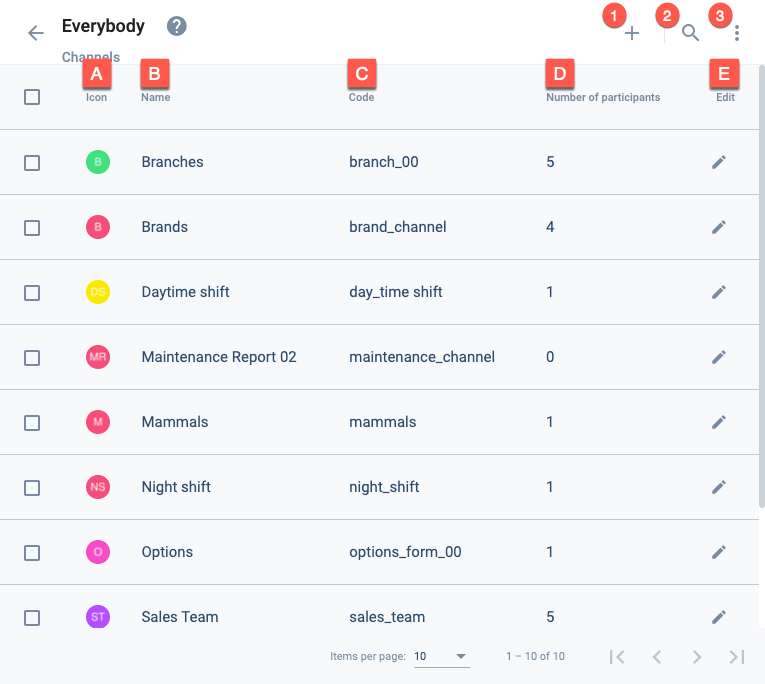
Actions:
- 1. Create channel: Opens the channel settings panel to create a new channel.
- 2. Search: Search for channels within the group.
- 3. More options: Allows viewing disabled channels.
Settings and Options:
- A. Icon: Displays the avatar that represents the channel.
- B. Name: The channel's display name.
- C. Code: The channel's unique identification code.
- D. Number of participants: Amount of users associated to the channel.
- E. Edit: Opens the channel settings panel to edit the corresponding channel.
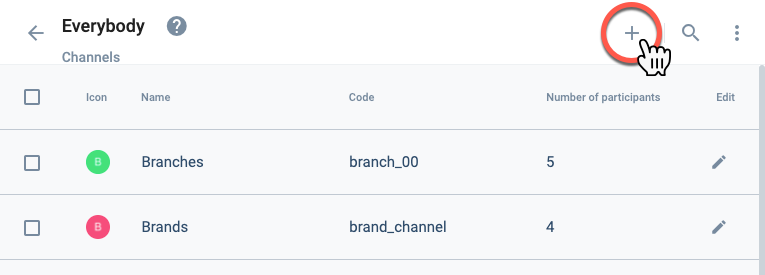
Create Channel within a Group
From within the Channels Panel, you can create a new channel by pressing the + icon. This will open up the Channel Settings Panel, where you can configure and save a new channel.
Edit a Channel within a Group
From within the Channels Panel, you can edit an existing channel by pressing the pen icon. This will open up the Channel Settings Panel, where you can configure and save a new channel.
Channel Settings Panel Layout
Whether creating or editing a channel, the following settings panel will appear.
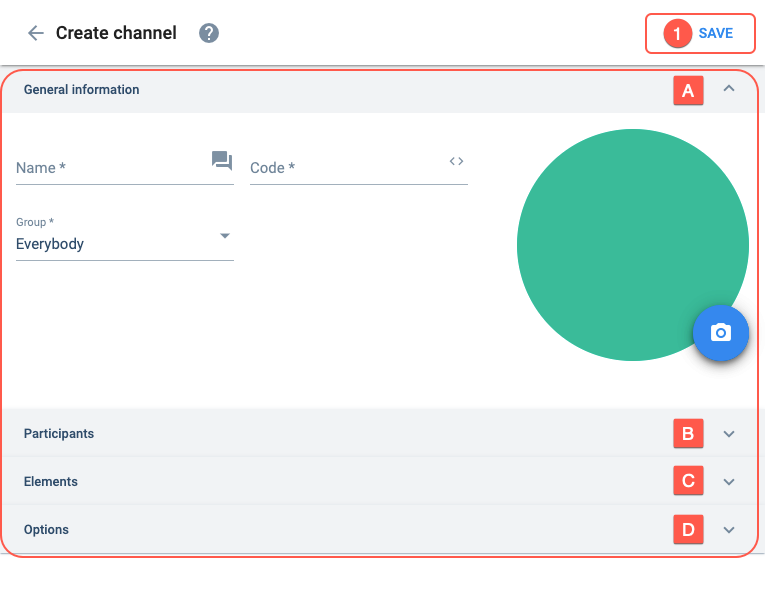
Actions:
- 1. Save: Saves current channel configuration.
Settings:
- A. General information: Basic channel setup information.
- B. Participants: Sets the users that can participate in the channel.
- C. Elements: Indicates elements associated with the channel.
- D. Options: Configures special channel options.
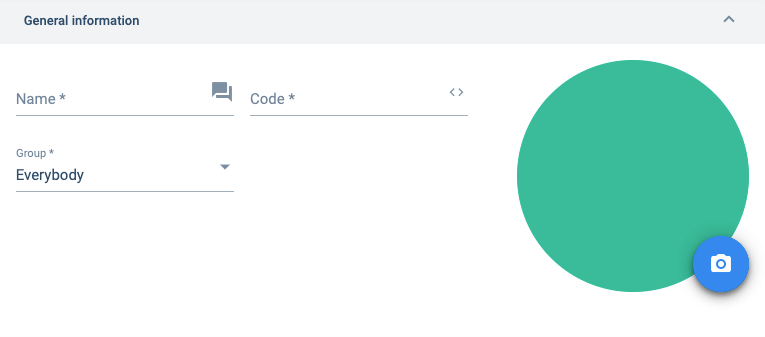
A. General information
Basic channel setup information.
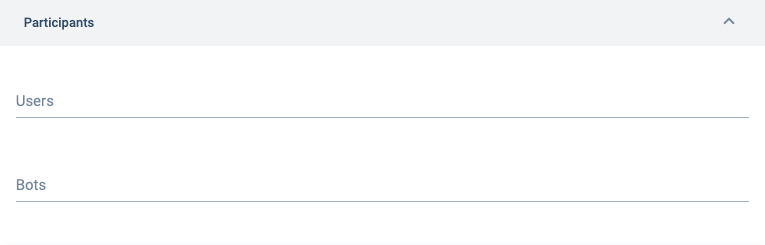
B. Participants
Sets the users that can participate in the channel.
C. Elements
Lets you add an element to your channel. Useful when setting up a routine or survey associated with a particular element. For example, if you add elements associated with a survey to the channel, the survey will be available through the actions button found in the channel's workspace.
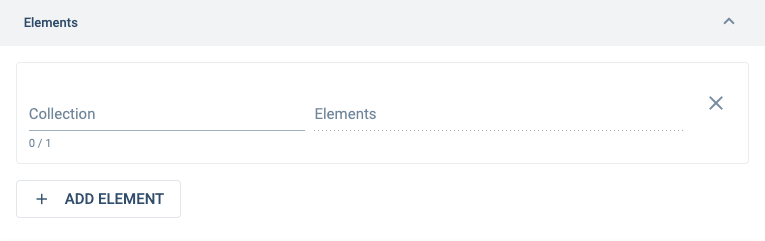
Indicates which collections (property types) are associated with the channel. Used for classifying channels or making surveys available, among others.
Indicates the collection's elements (properties) which have been chosen for the channel. Used for classifying channels or making surveys available, among others.
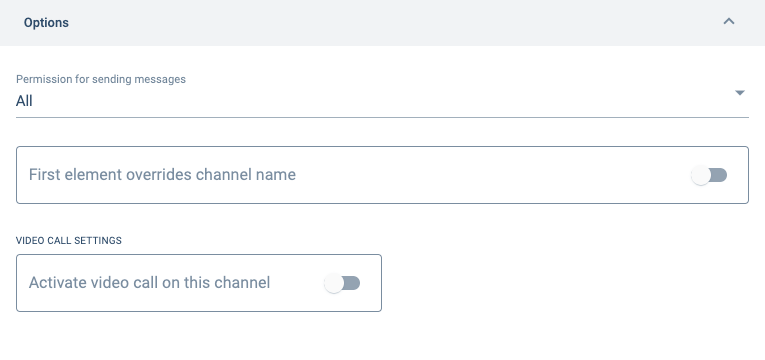
D. Options
Configures special channel options.